Making my home 2% smarter – Part 1
It has always been a dream of mine to get a home that could be considered smarter than a person is, or if smarter isn’t the right term, certainly more than the monolithic structure that we live within. The idea of home automation has been a question of money. Having finally broken down and bought myself a Raspberry Pi to play with, that idea has been getting closer to reality. In fact, I wasn’t aware before I started just how realistic the idea actually is. Since I’ve mentioned my adventure into this space to others and they’ve expressed interest, it was suggested I document my efforts, so that others could learn from it.
Getting Started
The easiest place to begin is with what I decided to start running my Home Automation system on. I’m not particularly paranoid about Cloud Security, though there certainly are reasons to be cautious. I didn’t want to find myself investing a lot of money into a Cloud-based solution and then being abandoned, much like happened with the Revolv users not too long ago. That made my requirements somewhat specific.
- The system could be Internet-facing, it had not to depend on a cloud service. All processing has to be on site.
- The system should be able to adapt to a changing security need. This can either be removing an Internet requirement and requiring other options to use, or use a two factor system, or restricted access to specific devices, etc.
What my research led me to is a project in development called Home Assistant. This product runs on a number of platforms, including a Raspberry Pi. While fairly basic at this stage (it is listed as version 0.38.4 as of this writing), it does have support for a great number of services from Z-Wave, ZigBee, and enOcean-based products to automation, device tracking, among others. It is also still very active with a great deal of interest, which makes it a perfect fit for what I want to do.
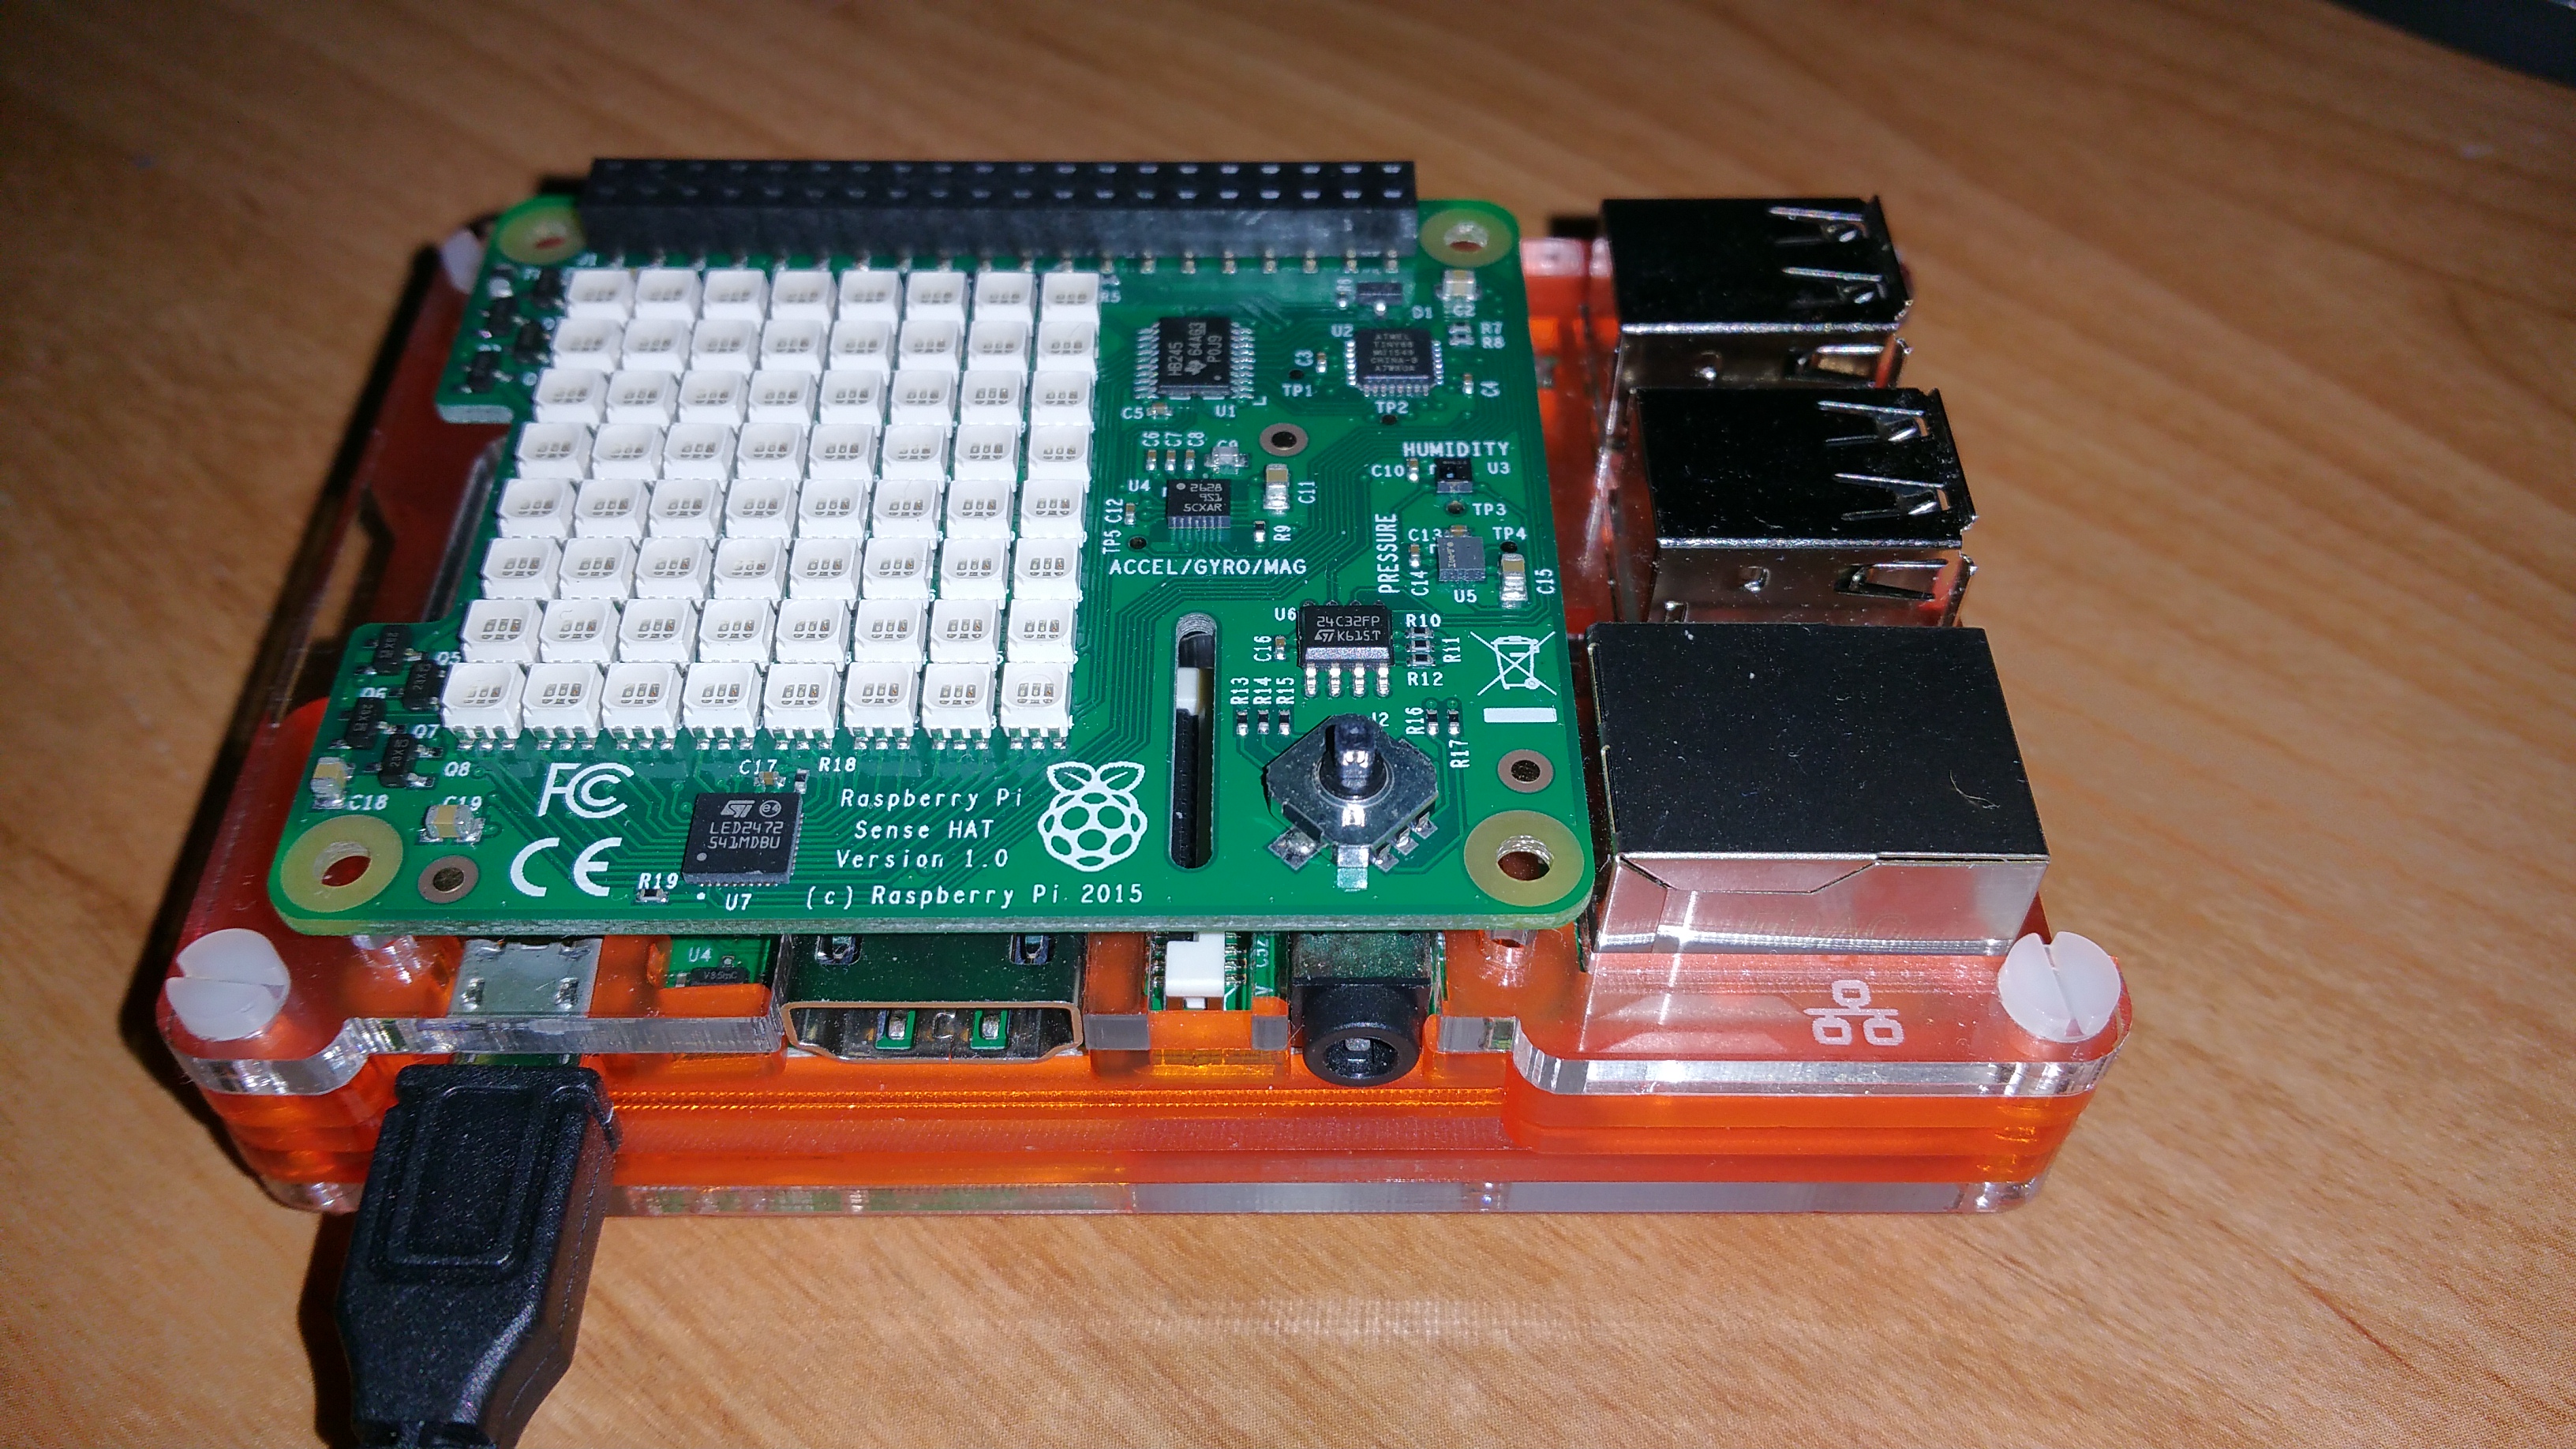
Given that I was starting with a Raspberry Pi 3, the latest version with built in Wifi, Bluetooth, and an ample helping of processing power, all I needed to do was to walk through the Installation Instructions for Home Assistant and get the system set up for the first time.
I had an idea to start with a stock Raspbian image and running the All-In-One Installer Script, but decided instead to just spare an extra micro SD Card and install the Home Assistant variant called Hassbian. The Installation Page for Hassbian is fairly straight forward, though instead of using Etcher, I made use of Win32 Disk Imager. I’m sure any flavor of image-to-medium tool would suffice, as long as it can write a raw .img file onto a disk, it should work. Plugged the SD Card into my Raspberry Pi 3 and fired it up.
Given that this is a Raspbian-based image, the usual Raspbian commands do work, though it is based off the headless version so there is no onboard UI or Pixel desktop. In order to configure the system, you can make use of the raspi-config command in order to configure things like Wifi network, Hostname, and so on. I gave my HA Hub a name, connected it to my Wifi network, and connected to the website to give it a look.
(Continued in Part 2)