Making my home 2% smarter – Part 2
In this installment of making a smarter home, I’m going to look at configuring Home Assistant to do more than sit there and look pretty.
Configuration
I have to say, it is unfortunate that Home Assistant hasn’t made more effort to make the front end the definitive source of truth for configuring the product. I can give it time, however, as it is an early version, and perhaps overlook the need for shell access to the hub in order to set up the system. That shell access requirement actually serves to protect the configuration from unwanted alterations from users on the Internet that could gain access to the web front end, but it sure doesn’t make it any easier to use.
All that said, in order to configure Home Assistant, you need to become familiar with YAML. This language is a lot more readable than say XML is, but it does have structure requirements in order to ensure that your configuration is properly interpreted. Spaces aren’t just for looks, they’re functional too!
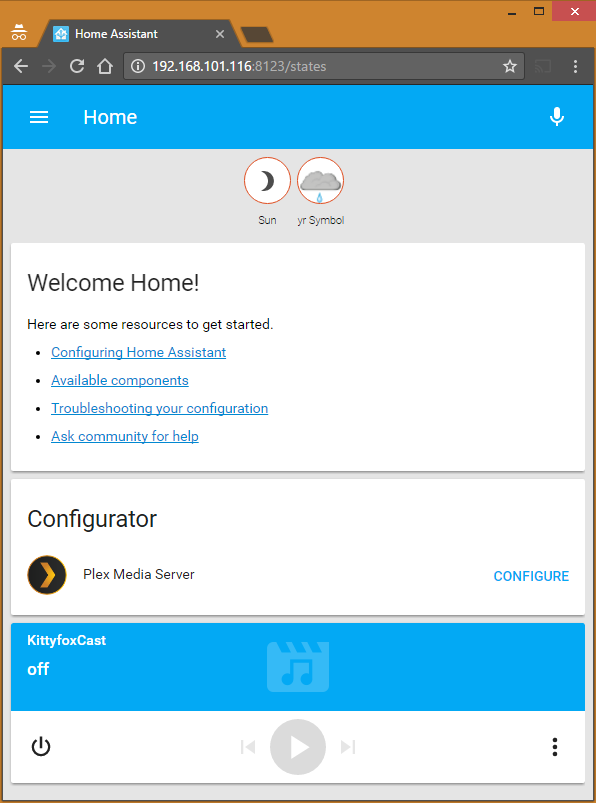
When you first log into Home Assistant and look at the configuration, it is extremely basic. It makes an attempt to guess it’s own location based on the geolocation of the IP address, which for me was within the city but not terribly precise. In addition to that are configuration parameters for the default components, such as the introduction card, front end, http (access via web server), discovery, conversation (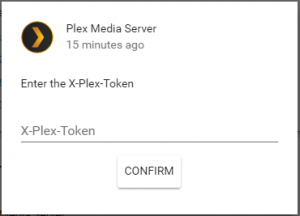 for voice commands), history, logbook (state changes), the sun (based on discovered location and elevation), a weather sensor, and a text to speech engine.
Having no home automation products such as lights or switches, what Home Assistant discovered wasn’t very exciting. It was interesting to see it pick up my Plex server. This I had to configure and I took the directions it had in the card to find my X-Plex-Token (an authentication token to log in with). This was not quite ideal, though, as the token I first acquired was for the logged on session I was currently using via browser. When that ended, so would my HA’s ability to watch it. On the same page as the directions to get my X-Plex-Token was a pointer to a more permanent method. To do that, I wrote a quick and dirty little PowerShell script to go and fetch it for me.
param(
 [string] $DeviceName,
 [string] $Username,
 [string] $Password
)

$url = "https://plex.tv/users/sign_in.xml"
$BB = [System.Text.Encoding]::UTF8.GetBytes("$($Username):$($Password)")
$EncodedPassword = [System.Convert]::ToBase64String($BB)
$headers = @{}
$headers.Add("Authorization","Basic $($EncodedPassword)") | out-null
$headers.Add("X-Plex-Device-Name", $DeviceName) | Out-Null
$headers.Add("X-Plex-Client-Identifier",[guid]::NewGuid()) | Out-Null
$headers.Add("X-Plex-Product","Home Assistant Hub") | Out-Null
$headers.Add("X-Plex-Device", "RasperryPi") | Out-Null
$headers.Add("X-Plex-Version","0.38.4") | Out-Null
[xml]$res = Invoke-RestMethod -Headers:$headers -Method Post -Uri:$url
$token = $res.user.authenticationtoken

Write-Host "Your new X-Plex-Token is $token"
Once I had that configured, it was able to see all the players (a Pi playing RasPlex Home Theater, and amusingly enough, even a chrome browser) on my network.
That all seemed well and good, but what good does it do to know what I’m watching, when I’m probably going to be the one watching it? I had heard of more advanced setups using the fact media was playing to dim lights, but I just don’t have any of that equipment yet. So, was there anything else I could do with Home Assistant until then? Well, turns out there is.
(Continued in Part 3)